Installing Emacs and a Simple Config on Windows
Installing Emacs on Windows can be a pain if you are just starting out, don't know what you are doing, and just want to slap a premade config on it and get going. This guide will hopefully alleviate some of that pain.
I am a beginner myself, so take this guide with a grain of salt. There may be better and more surefire ways of going about this, as well as pitfalls I am unaware of.
1. Installing Emacs
First and foremost, you'll need to download and install Emacs. There are a multitude of ways you can do this, and most guides I have seen (for Windows) involve using a package manager like Cygwin, MSYS2, Chocolatey, Winget, etc.
I would strongly recommend you do not do it this way. I tried, and it was incredibly difficult to uninstall Emacs through the various package managers after it was installed.
Instead, you can download it directly from the nearby FTP mirror here. Navigate to the latest release, which at the time of writing is 29.1.2, and then download the emacs-29.1_2.installer.exe.
After it's downloaded, run the exe like you would any other and you should have Emacs installed.
2. Setting up the Config
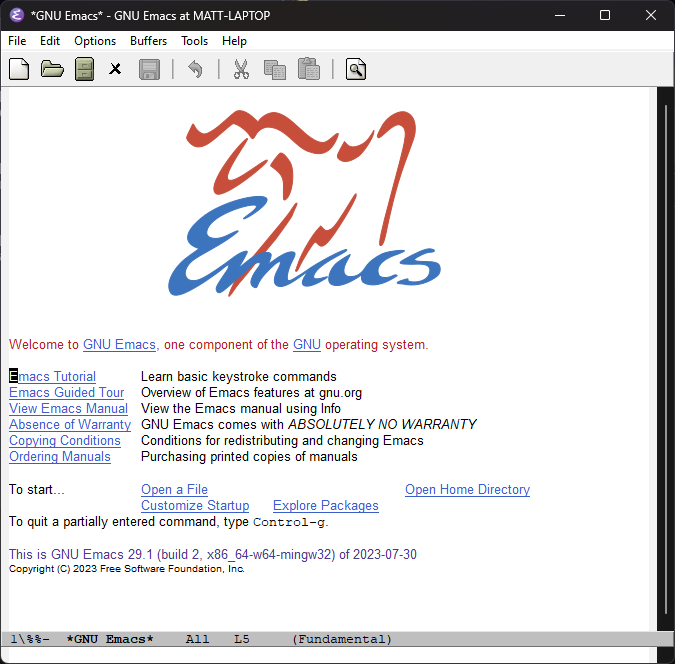
Next, the fun part, involves setting up the config. By default, Emacs looks like this:

We can easily do better. Some people like the default look (and admittedly there is some charm to it) but in my opinion a dark (or in our case, dim) theme is superior in 98% of cases.
1. Ensure that a folder titled .emacs.d exists in your home folder. In a Powershell you can run the following to create the directory:
mkdir ~/.emacs.d
2. Next, we need to clone the Emacs config I've setup from GitHub. In Powershell, navigate to the .emacs.d directory by using the following command:
cd ~/.emacs.d
Then (assuming Git is installed on your system) we run this command to clone the repo:
git clone https://github.com/ItsLolgical/simple-emacs-config .
This will clone the repo into the current directory, which should be ~/.emacs.d/.
3. Troubleshooting
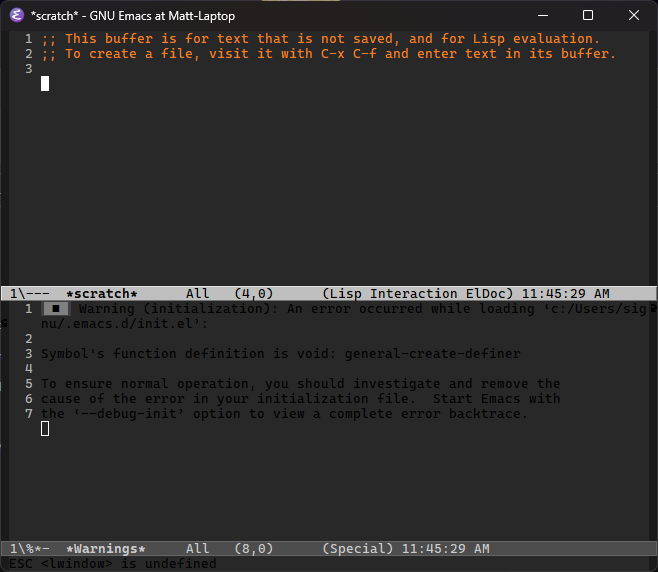
Inevitably, something will go wrong (like a package failing to download) and you'll get an error message in the *Warnings* buffer. In my experience, these are easy to resolve.
Error Installing Package

In the above screenshot, we get an error indicating that the package General failed to install. We can remedy this with the following:
- Press
M-x,MbeingALTin this case. - Enter
package-refresh-contentsin the prompt. - Close and reopen Emacs.
If that doesn't work and get the package(s) downloading and installing, then we can also try the following:
- Press
M-x - Enter the command
package-installand then press enter. - Enter
general(or the offending package you need to install) as the package we want to install. - If successful, you should see "Package 'general' installed." there at the bottom of the screen.
4. Installing the Nerd Fonts
The config I have setup uses the CaskaydiaCove nerd font, which can be downloaded here. It can be installed like any other font.
The Modeline has a dependency on a particular nerd font being installed:
- Type
M-xand enternerd-icons-install-fontsinto the prompt. - Select the directory you want to download the font to. By default it's the home (
~/) directory. - Double-click the
NFM.ttffile that was downloaded.
Using Emacs
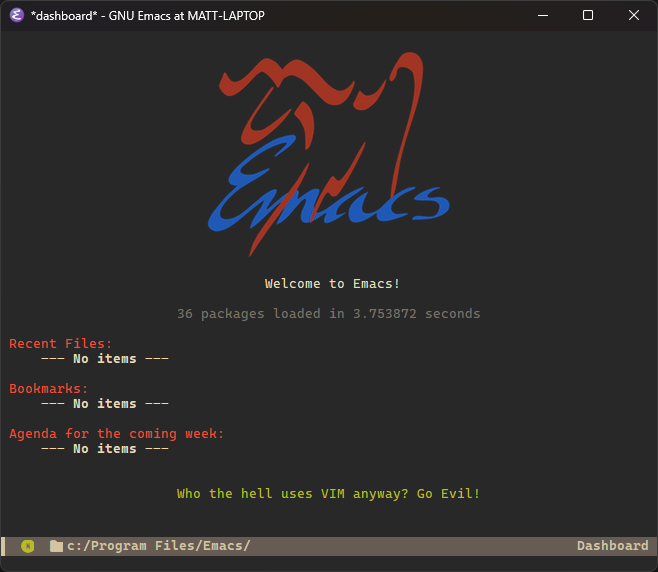
If you were able to successfully run through the steps above, you should now be greeted with a much better looking Emacs dashboard:

I have the default theme set to Gruvbox, which is a nice retro color scheme that does Emacs some justice.
If you'd rather have a more modern dark theme, you can type M-x and enter the command load-theme to bring up a list of available themes. Another 3rd party theme I have in my config is Catppuccin, which you can select from the list to use.
Hope this helps you get started with the editor of a lifetime!